Introduction
Your couch is the centerpiece of your living room, often subjected to daily wear and tear, spills, and stains. Over time, it can accumulate dirt, dust, and odors that may make it look less appealing. Professional upholstery cleaning services are available, but you can also tackle the task of shampooing your couch at home with the right tools and techniques. In this article, we’ll provide you with a step-by-step guide on how to effectively clean and shampoo your couch in the comfort of your home.
Materials You’ll Need
Before you begin the couch shampooing process, gather the following materials:
- Upholstery shampoo or fabric cleaner
- Vacuum cleaner with upholstery attachment
- Soft-bristle brush or upholstery brush
- Clean, white cloths or sponges
- Warm water
- Bucket
- Spray bottle
- Rubber gloves
- Plastic drop cloth or plastic sheet
- Fan or air circulation system (optional)
- Fabric protector spray (optional)
Step-by-Step Cleaning Guide
Step 1: Prepare the Area
Start by clearing the space around your couch. Move any side tables, decorative items, or obstacles that might hinder your cleaning process. Lay down a plastic drop cloth or plastic sheet to protect your floor from potential spills.
Step 2: Vacuum Thoroughly
Use a vacuum cleaner with an upholstery attachment to thoroughly vacuum the entire surface of your couch. Pay special attention to seams, crevices, and between cushions to remove loose dirt, dust, and debris. This step is essential for preventing the spread of dirt during the cleaning process.
Step 3: Pre-test the Shampoo
Before applying any upholstery shampoo or fabric cleaner to your couch, perform a spot test on a hidden or inconspicuous area to ensure it won’t cause discoloration or damage. Follow the manufacturer’s instructions for the spot test.
Step 4: Mix the Shampoo Solution
Dilute the upholstery shampoo or fabric cleaner with warm water in a bucket according to the manufacturer’s instructions. Ensure that you don’t use too much detergent to avoid excessive foam.
Step 5: Apply the Shampoo
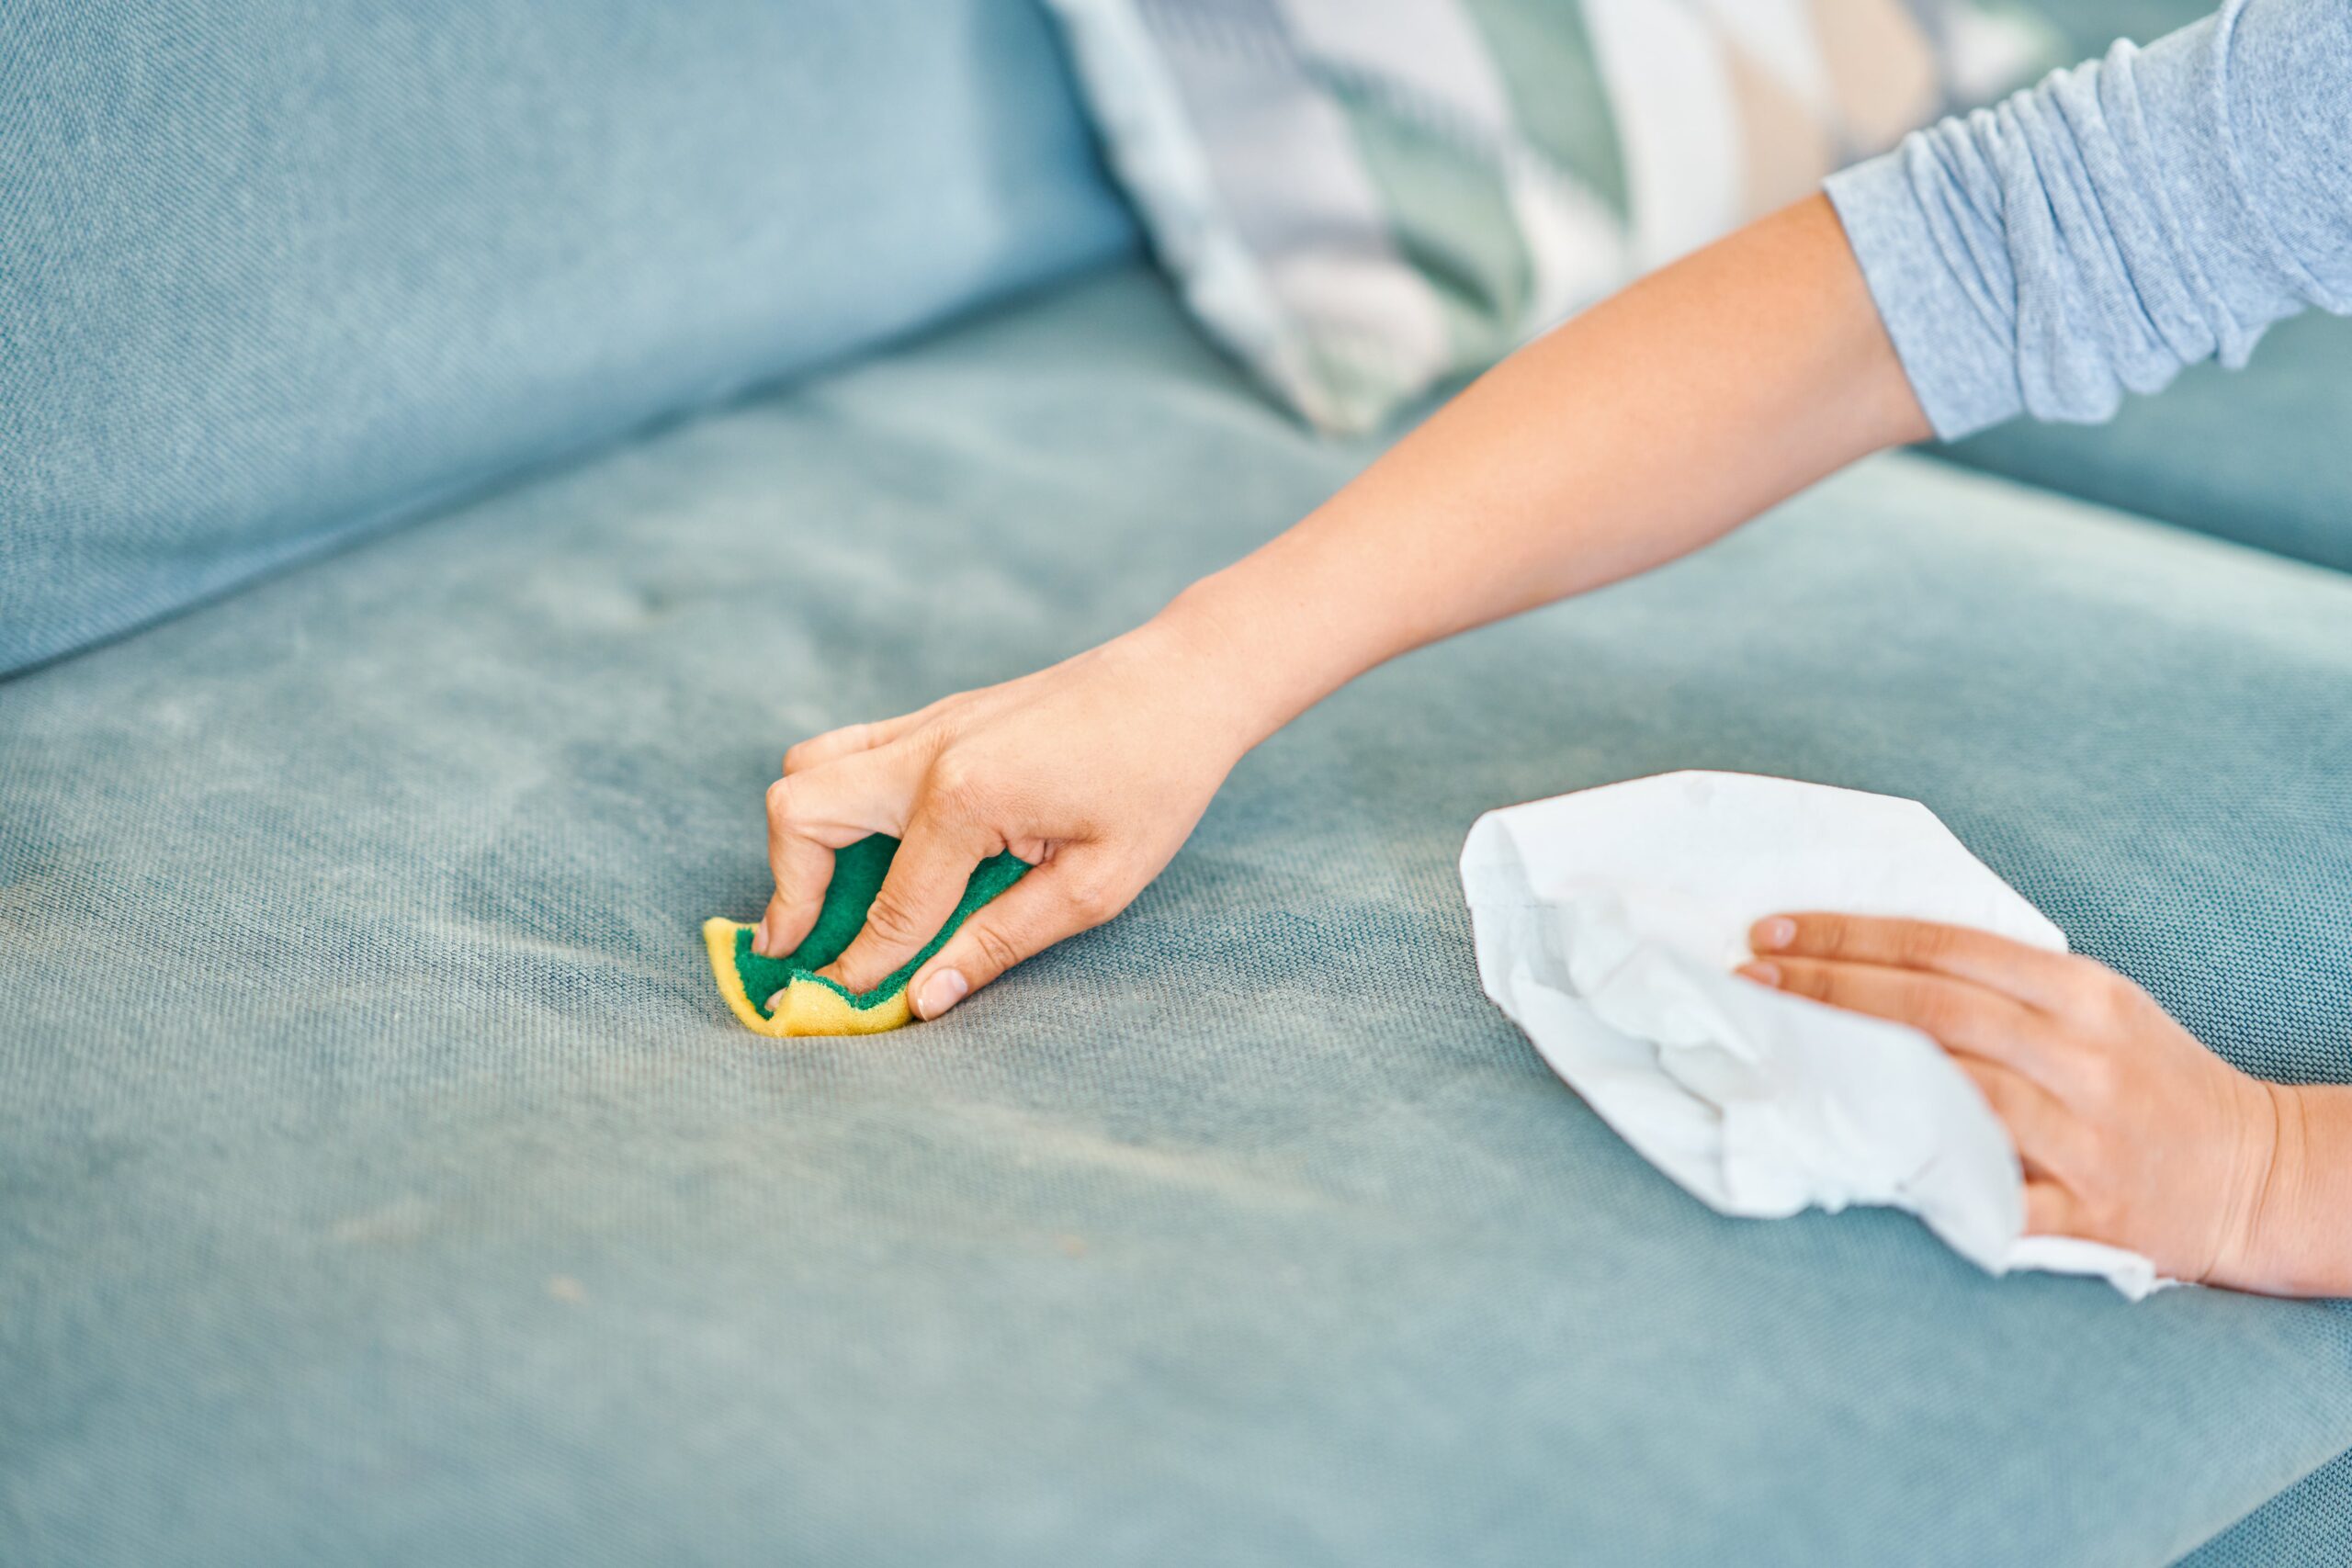
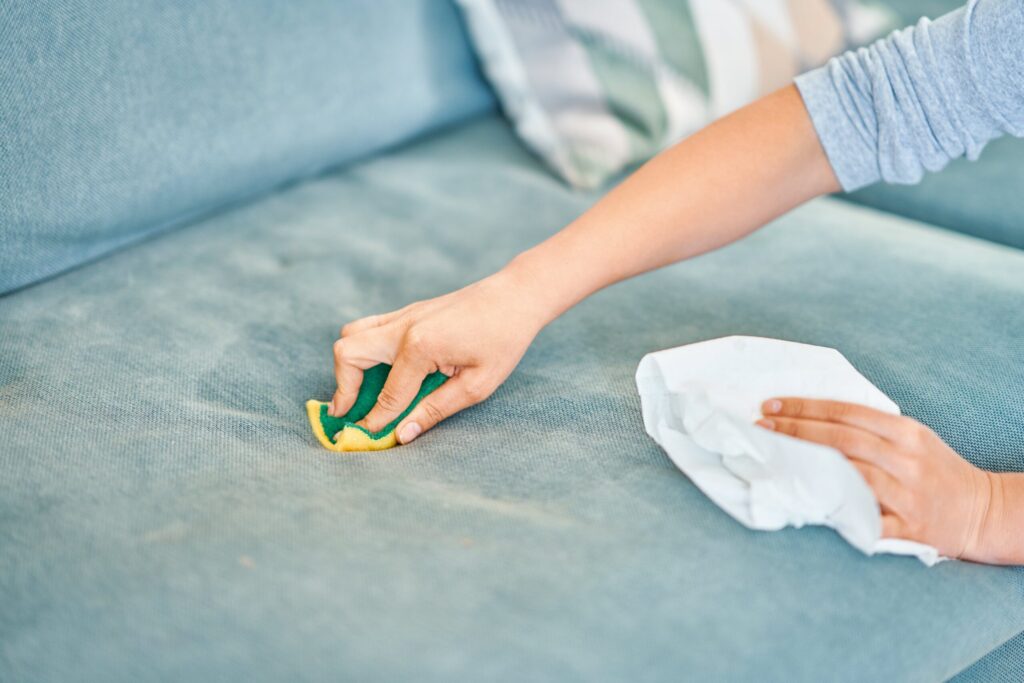
Spray a small amount of the shampoo solution onto a clean, white cloth or sponge. Gently blot or dab the stained or soiled areas of your couch, working from top to bottom. Avoid rubbing, as it can push dirt and stains deeper into the fabric.
Step 6: Scrub and Clean
Use a soft-bristle brush or an upholstery brush to gently scrub the entire couch surface with the shampoo solution. Focus on stains and high-traffic areas. Continue to work from top to bottom and follow the direction of the fabric grain.
Step 7: Rinse and Wipe
Rinse the shampoo from your couch by wiping it down with a clean, damp cloth or sponge. Ensure you remove all the detergent residue.
Step 8: Allow to Dry
Allow your couch to air dry thoroughly. To speed up the drying process, you can use a fan or open windows to promote air circulation. Avoid sitting on the couch until it’s completely dry.
Step 9: Apply Fabric Protector (Optional)
To prevent future stains and spills, consider applying a fabric protector spray according to the product’s instructions. This step can help repel liquids and make future cleaning easier.
The dangers of DIY couch Shampooing
While DIY couch shampooing can be a cost-effective and convenient way to clean your upholstery, it’s essential to be aware of the potential dangers and pitfalls associated with this process. Here are some of the risks and challenges of DIY couch shampooing:
- Damage to Upholstery: One of the most significant dangers of DIY couch shampooing is the risk of damaging your couch’s upholstery. Using the wrong cleaning products or techniques can cause colors to fade, fabric to shrink, or delicate materials to become discolored or distorted. This damage may be irreversible and costly to repair or replace.
- Ineffective Stain Removal: DIY cleaning methods may not effectively remove tough stains or deep-seated dirt. Without professional-grade equipment and expertise, you may find that some stains remain visible even after cleaning, leading to frustration and disappointment.
- Residue Buildup: Improperly rinsed couches can leave behind detergent residues. These residues can attract dirt and dust, making your couch look dirtier faster. They can also lead to skin irritation or allergic reactions if not thoroughly removed.
- Overwetting: Overly saturating your couch with water or cleaning solutions can be a common mistake during DIY cleaning. Excessive moisture can damage the couch’s frame, encourage mold and mildew growth, and result in a longer drying time.
- Color Bleeding: Some couch fabrics may be prone to color bleeding when exposed to water or cleaning agents. This can lead to colors bleeding into each other or fading, altering the couch’s appearance.
- Fabric Shrinkage: Natural fibers like cotton and linen are susceptible to shrinkage when exposed to moisture. If your couch’s fabric shrinks during cleaning, it may result in an ill-fitting cover or upholstery that no longer fits properly.
- Voiding Warranty: If your couch is still under warranty, attempting DIY cleaning without following the manufacturer’s recommended cleaning methods could void the warranty. Manufacturers often require professional cleaning to maintain warranty coverage.
- Allergic Reactions: Some cleaning products may contain harsh chemicals or allergens that can cause skin irritations or respiratory issues. Without proper precautions and protective gear, you may be at risk of allergic reactions or health problems.
- Lack of Expertise: Professional upholstery cleaners are trained to assess the specific needs of different fabrics and stains. DIY cleaners may not have the necessary expertise to handle unique cleaning challenges effectively.
- Frustration and Stress: If your DIY cleaning efforts don’t yield satisfactory results, it can be frustrating and stressful. You may end up spending more time, effort, and money trying to rectify any mistakes or damage caused during the process.

